

Step 1: Prep
Wipe down all walls and ceiling, gather supplies
&
Mark placement of all beams on the floor and ceiling.
You will need:
Step 2: Jigsaw, hammer ans
Step 3: Measuring tape, chalk line, 4' straight edge, razor (extra blades), pen, drill,
1 5/8" drywall screws, 1/2" drywall.
Step 4: Putty knife, drywall tape, paper towel, trowel and joint compound
Step 5: Mesh sandpaper, sand paper sponge, face mask and Shop Vac
Step 6: Primer, paint, paint brush, paint rollers and tray.
Step 7: Carpet remnant, Carpet pad (if desired) and staple gun.
Step 6: Primer, paint, paint brush, paint rollers and tray.
Step 7: Carpet remnant, Carpet pad (if desired) and staple gun.


Draw two lines to indicate start and end of beams:

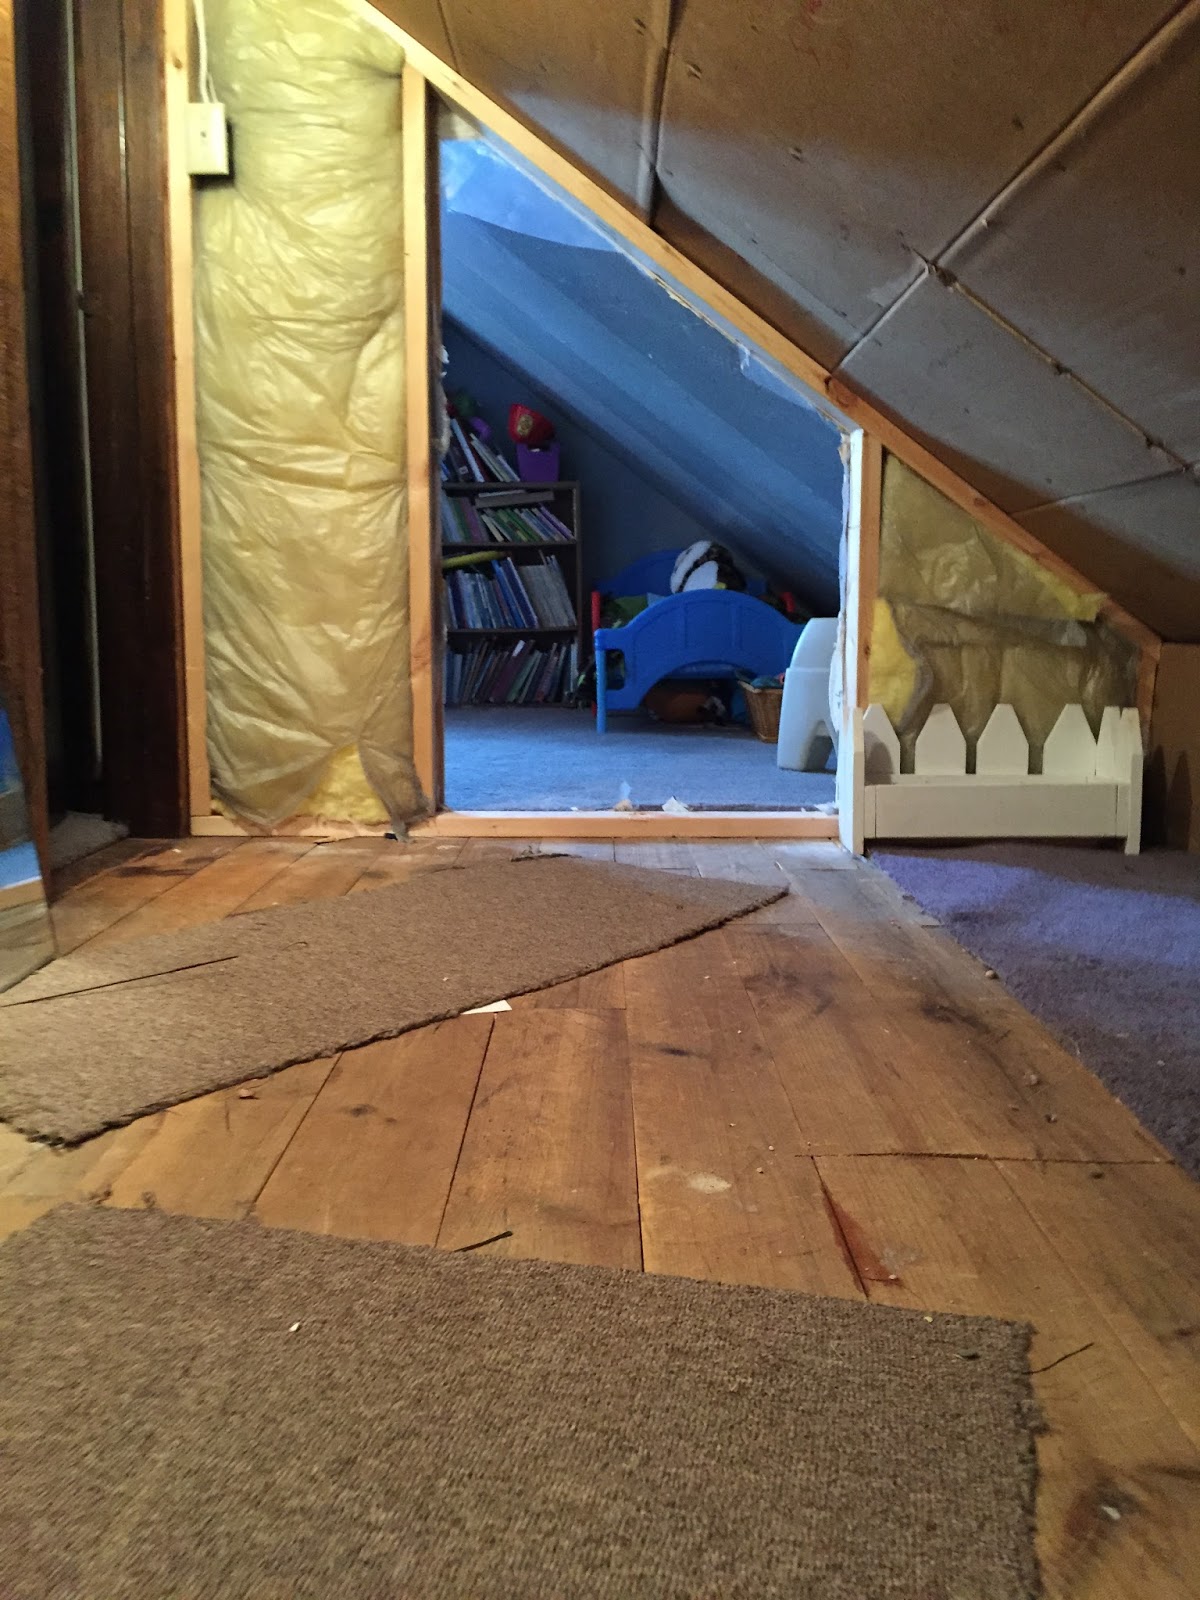
Step 2: Cut hole in wall


Step 3: Cut and Hang Drywall

Hang your first piece of drywall (when possible hang a full sheet).
Make a chalk line on drywall to indicate where the beams line up and drill the screws along the chalk lines.


When drilling holes make sure they are flush with board or slightly below surface.


To hang the remaining drywall you will most likely have to cut the sheets in order to fill the empty spaces.
To cut: measure the empty space and mark your drywall sheet ...


Then mark a straight line the full width of the drywall sheet and score across the line with your razor...


Snap at the seam and score the other side of the drywall paper.


Set adjusted sheet of drywall into place, make a chalk line and drill 3-4 screws into each beam.

Piece together the rest of the space and you'll be ready to mud the seams!

**Cutting holes in drywall (outlets, switches or lights)**
Measure to the switch/socket from nearest walls, make the same measurements on the drywall and cut out a hole to fit around the fixture.


Step 3: Mudding seams

Wipe a good amount of the joint compound over the seam, stick the tape on and scrape flat.


Then place another thin layer of compound over the tape.

Same for corners:
Just fold the paper in half on the crease provided.


After the first layers of mudding are dry (24 hours) place a final coat of joint compound over the seams.


Apply a generous amount of compound to the trowel and scrape down the seam with the trowel at a slight angle.

Try to make everything as smooth as possible- this will make sanding process much easier.
**Patching holes**
Apply a very small amount of compound on your putty knife and wipe into the hole.


Then, scrape off access to make a smooth surface.


Step 4: Sanding
Use a sponge for the corners and mesh sandpaper for flat surfaces.


Wipe off dust with a damp sponge and a paintbrush


Scrape plaster off the floor and clean up the dust.


Step 5: Painting
Prime


Then, paint the corners first...

Finish your first coat...

Second coat... and done!

Step 6: Carpet
Please note: I am not installing carpet. I am just laying and securing.
Stretch out your carpet and lay it flat.
the piece should be a bit larger than your space
Trim edge and press into place.


(I laid a carpet pad first)


I decided to add a few staples into the edges to help secure the carpet.

Step 7: Finishing touches
At this point you can put the switch plates, outlet covers and fixtures back up.


Lighting
Turn off electricity!!!!
At this time you will probably want to check the wires with a voltage tester before you touch.
Match up wires and cap them off.
Don't forget the ground!


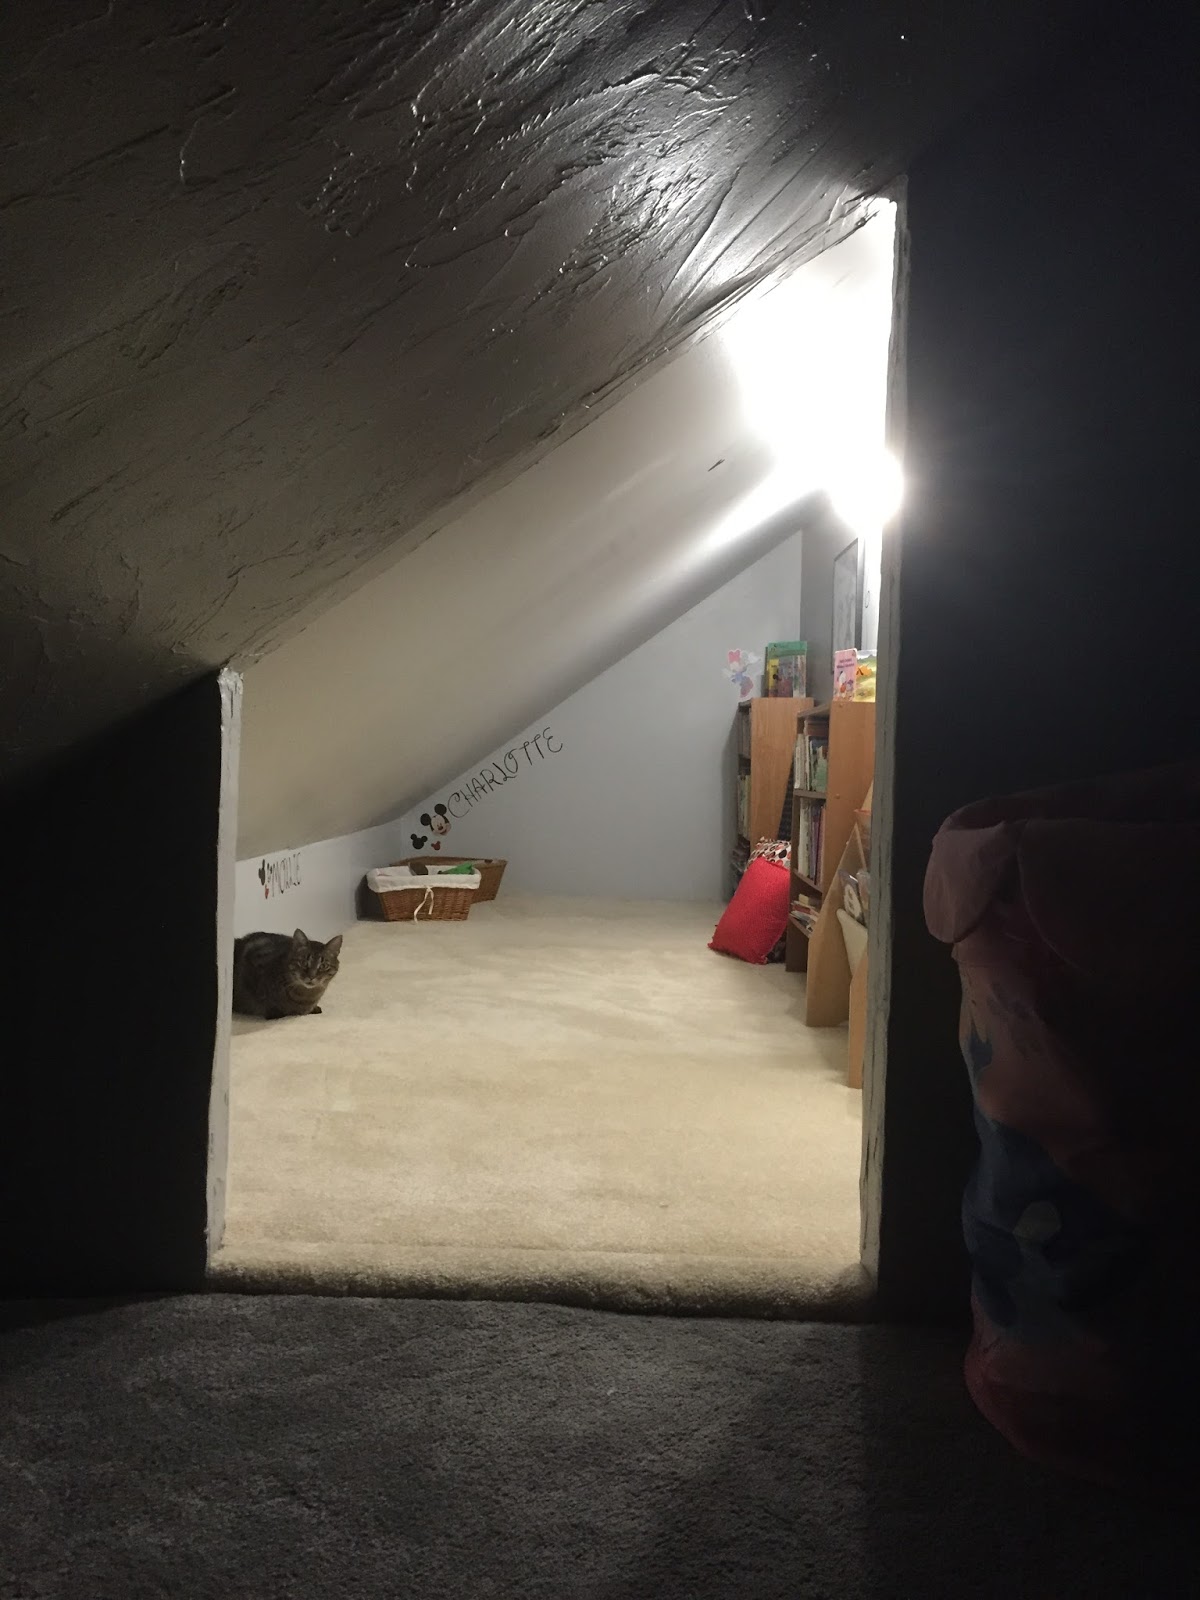
And last, but not least.....add Decor and Furniture!


No comments:
Post a Comment