
Step 1: Rip out old flooring.
 Tools:
Pry bar, hammer, gloves,
Tools:
Pry bar, hammer, gloves,
safety glasses and ear protection.
(If needed: something to remove staples.
We used a flush cut saw and pliers)
Vinyl Floors
 Tools:
safety glasses and ear protection.
(If needed: something to remove staples.
We used a flush cut saw and pliers)
Vinyl Floors
Or in my case four layers of old flooring... vinyl, subfloor, vinyl and vinyl tile!
Scrape and cut until floors smooth.


Scrape and cut until floors smooth.


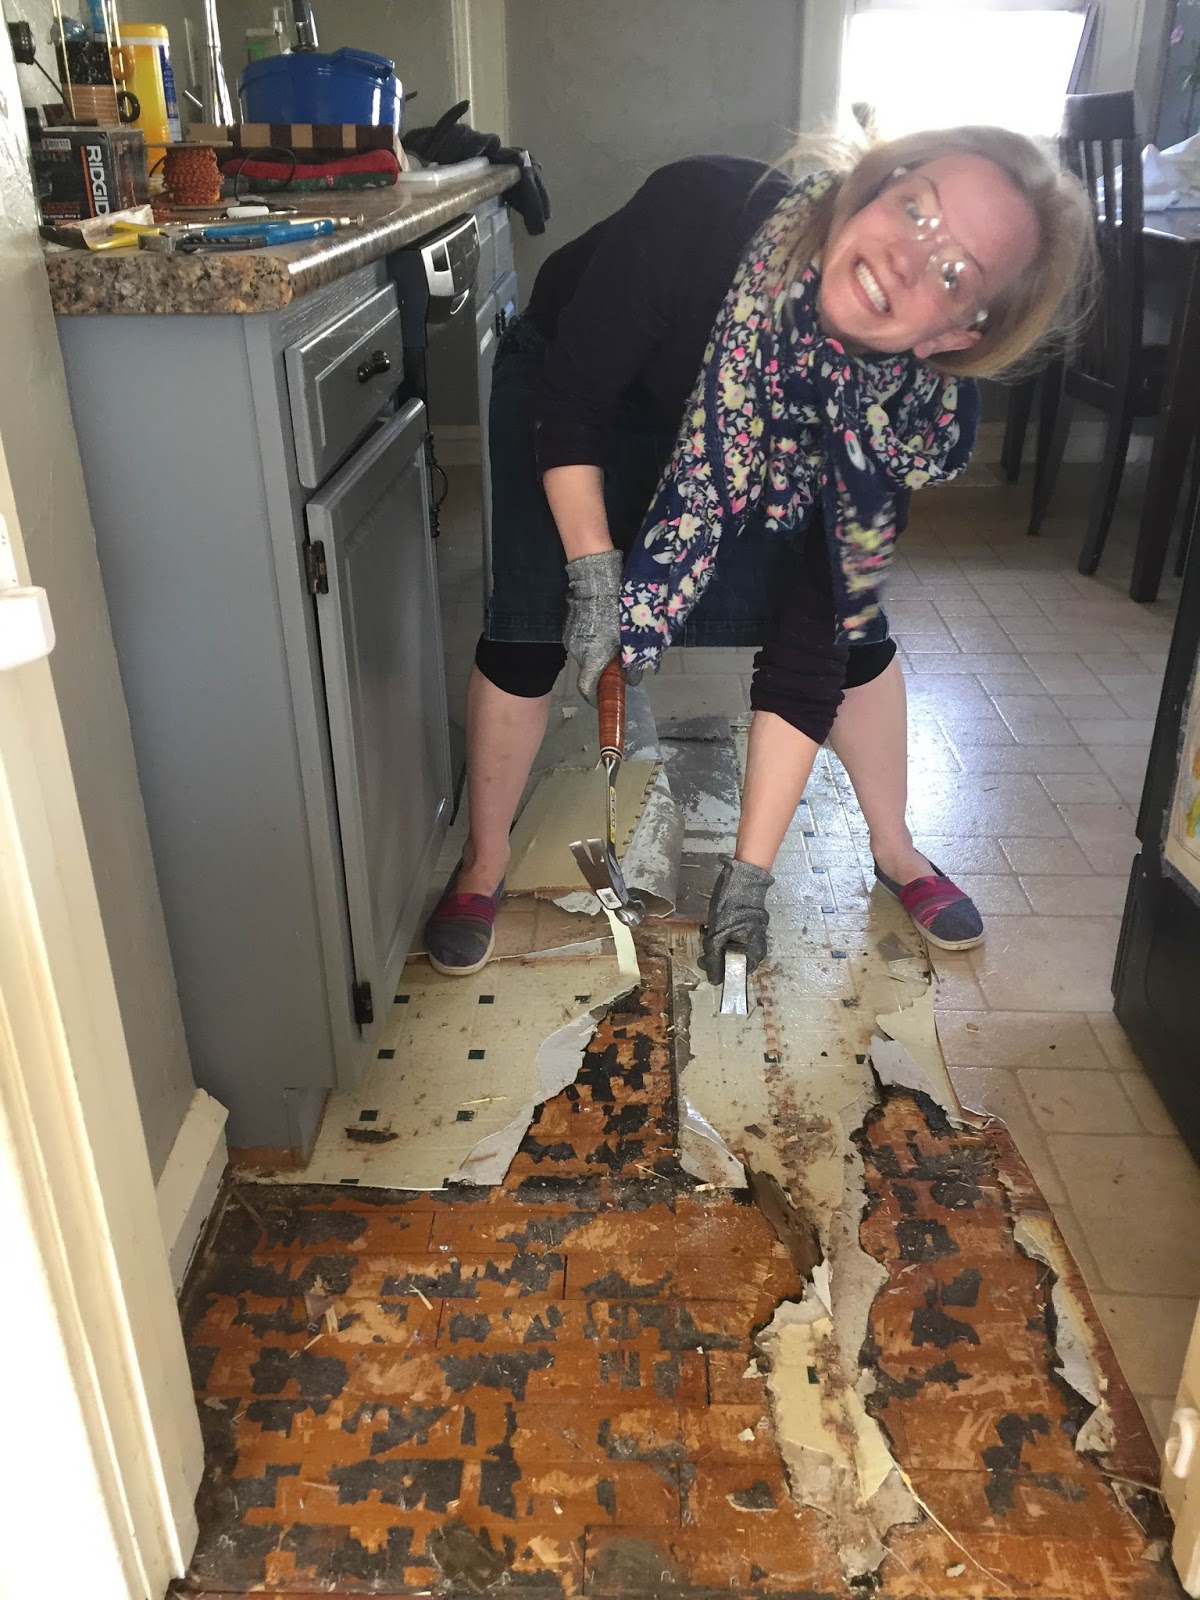
In some cases you may want to use a floor scraper, but with so many staples it was impossible here.
Carpeted floors
Rip it out, cut and roll it into 4' bundles.
Then remove tack strip (try to get the nails out too)


Step 2: Clean up and prep floors
Get rid of all nails and debris.


Step 3 and 4 tools:
- Laminate flooring
- square footage +20% for waste.
- Underlayment
- Square footage of your space.
- Duct tape
- Razor blade
- T-square or quick square tool.
- Fine tip marker
- Hammer
- Pull bar
- Tapping block
- Eye protection
- Flush cut saw ( for edging)
- circular saw for cutting laminate.

Step 3: Lay underlayment
(If you need subfloors see how here.)
Just lay it out and cut.

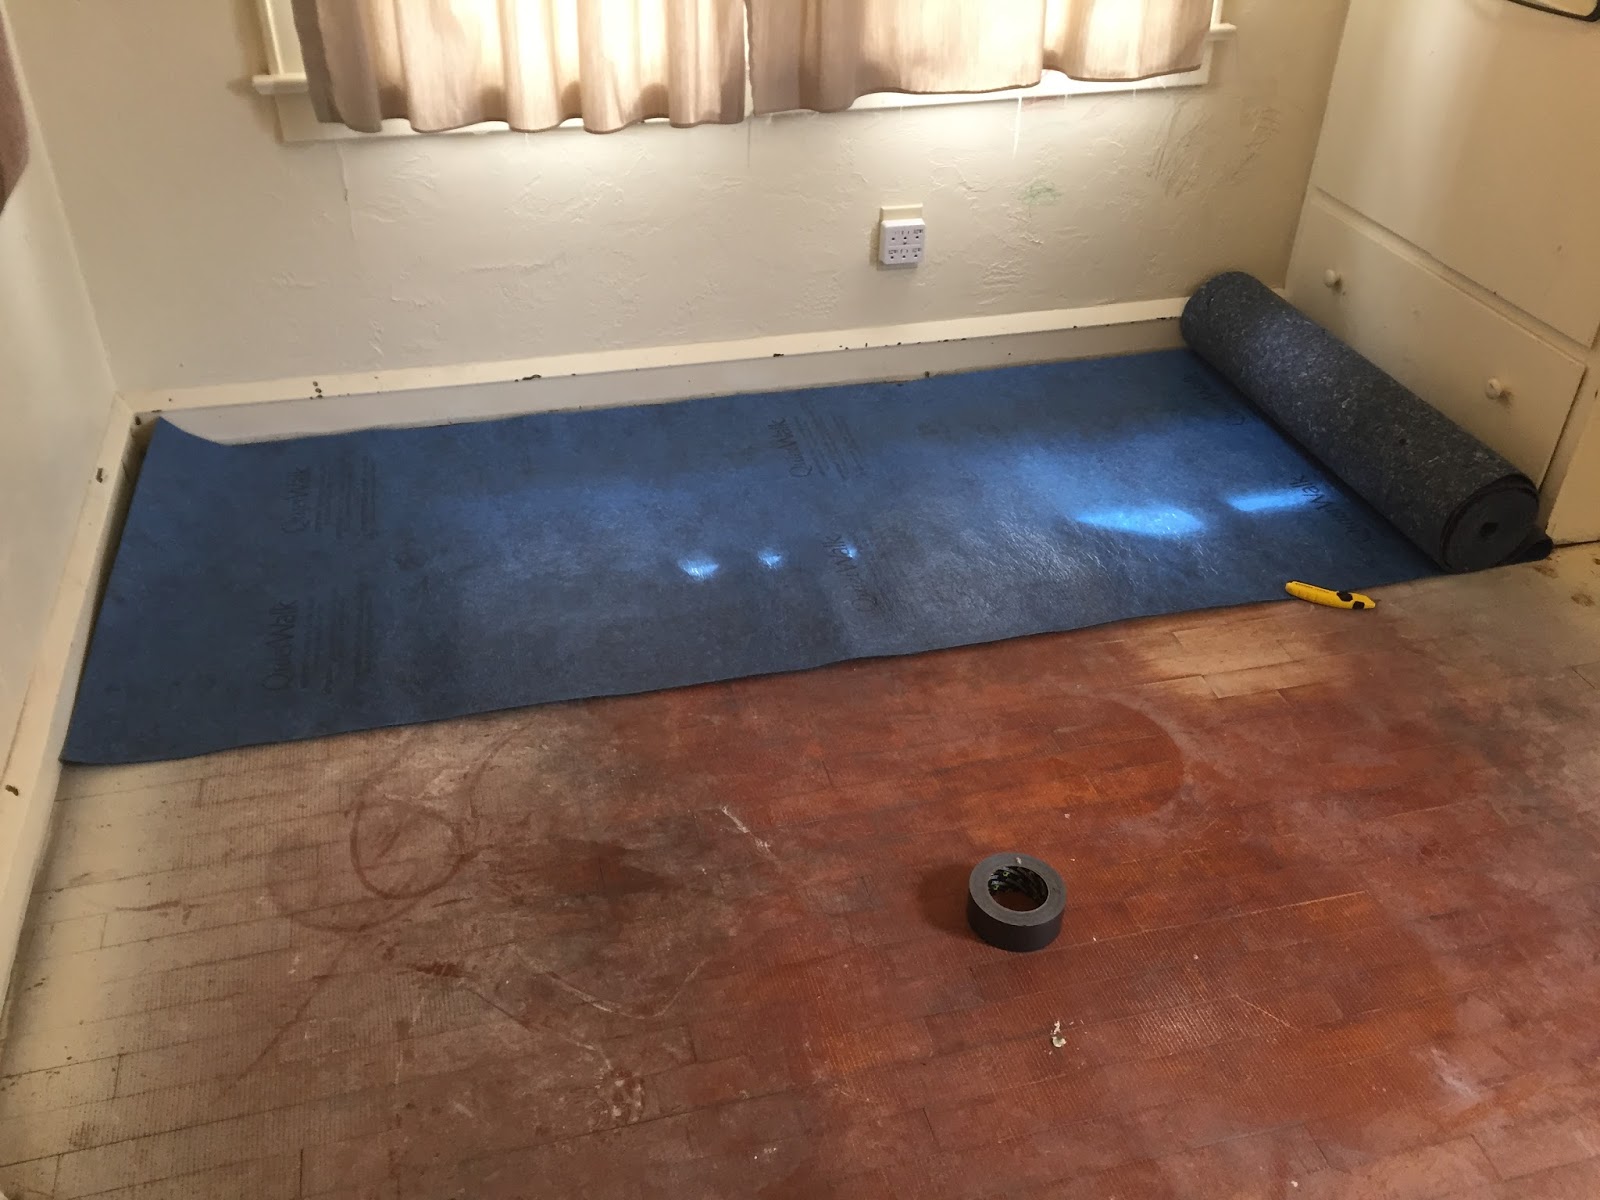


When you need to add more repeat process
the above and tape the two sheets together
Step 4: Laying the laminate
Start by snapping together your first row of boards.
Start with a half board to ensure a varying pattern.


Measuring, cutting and laying:
1st: Lay the last board (B) over the previous one (A).


2nd: Measure and cut board A.
3rd: Place B where A was.


4th: Lock into place.

Next Rows:
For all the rows following you will start with the end you just cut off of the previous row

Lay entire row, cut end and lock into place
(set into grooves, lift up and push gently until it locks in.)


If it doesn't lock right away, gently tap with a block and hammer where you see gaps.

(check to ensure nothing is blocking it from locking - even the smallest fleck of wood will do it)
Step 5: Trimming around corners and edges.

On this corner I trimmed under the wardrobe slightly and slid the board underneath.


Measure, cut, lock and slide into place.
(Notice I pulled the boards forward to lock into place.)


More examples:


Continue this process until finished.


Step 6: Trim
to be continued.....


