Thursday, July 5, 2012

Refurbish an old chest


I was up in our attic going through old boxes and totes when I came across this old rundown chest. I've had it for many years, but never realized it's potential. Then I had an idea.


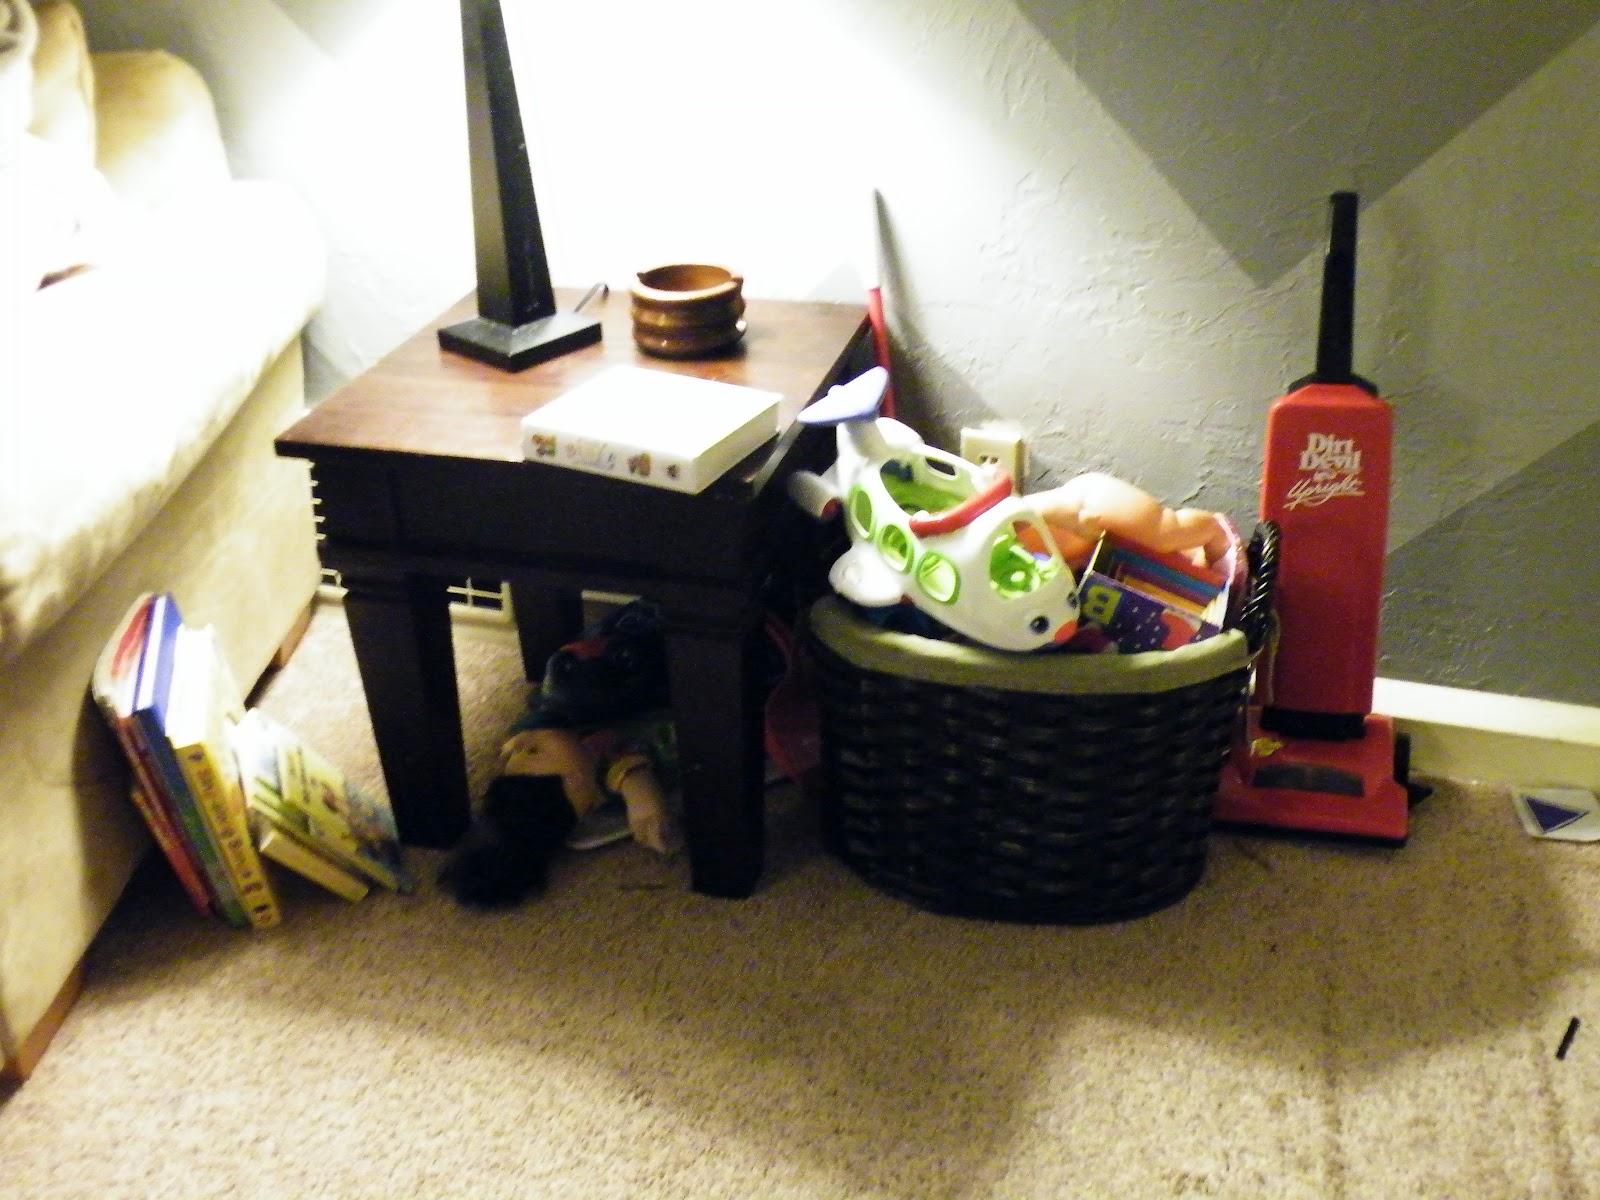
See all these toys causing a scene in my newly decorated living room?  I decided they would be the heart of my new project.


How to refurbish an old chest.


Step 1: Paint or stain the wood.


Step 2: Reupholster the cushion. 

First, you will need to attach your fabric, inside out, to the back edge of your cushion.


Like so:


Then flip the fabric up and over the top of the cushion (right side up).


Like so:


Then wrap your fabric tightly around all three edges and staple in place. 


There you have it! 


Storage for al those unsightly toys.


Friday, June 22, 2012

Restoring Furniture


Step1: Sand


Sandpapers are commonly graded as coarse (40-60 grit), Medium (80-120), Fine (150-180), Very Fine (220-240), Extra Fine (280-320) and Super Fine (360 and above). Depending on What kind of wood you are working with (soft or hard) start with a Coarse grade and work your way to a fine grade.


Example: This table is pine (a very soft wood). It had significant damage, so I sanded the whole thing with 80 to get out the scratches. Then I went over it again with 220 to smooth it out.


Step 2 (for staining only): 
Seal the wood. Apply pre-stain to the furniture using a brush or clean rag. Allow the it to soak in for five minutes and then wipe off the excess. Allow it to dry an additional 30 minutes.

Step 2 (for painting only):

 Prime the wood. 
Wait at least four hours for the primer to dry before painting the piece of furniture with the paint.

Step 3: 
Stain and/or paint the the wood. 


And there you have it! A beautiful new piece of furniture!


Restoring Furniture


Step 2 (for staining only): 
Seal the wood. Apply to the furniture using a brush or clean rag. Allow the pre-stain to soak in for five minutes and then wipe off the excess. Allow to dry an additional 30 minutes.

Step 2 (for painting only):
 Prime the wood. Find a primer whose tint is close to the final color desired for the piece of furniture you intend to paint. Paint all surfaces of the piece. Wait at least four hours for the primer to dry before painting the piece of furniture with the paint.

Step 3: 
Stain and/or paint the the wood. 


And there you have it! A beautiful new piece of furniture!


Wednesday, May 23, 2012

Home Decor for Less


   If you don't know where to start, try Gordmans.
 They have great prices and the discounts are incredible!

Find a location near you


Friday, March 23, 2012

Accent Wall (make a huge impression)


Guidelines for painting accent walls


  • Accent walls can be solid without doors or windows. They can also be an accent color around beautiful french doors or a window with a spectacular view. 
  • Ask yourself what the natural focal point in the room is. Do you have a fireplace you could make more dramatic by painting the wall in a different color? Other naturals include the wall behind the headboard or an important piece of furniture, the wall holding dramatic art, a niche or other interesting architectural wall features that you want to highlight.
  • If you do not have a natural focal point you can create one. Look around the room where does your eye go first? If you paint behind a Painting or a sculpture that item will stand out and get more attention.
  • In oblong rooms the best way to accentuate is the farthest short wall. 
  • If you are accentuating a wall with pattern, continue the pattern around the room in threes. If the wall has stripes, then place a pillow and a rug with similar stripes in different places in the room.
  • Whatever wall you chose as your accent, make sure there is no other competition from other walls. If any of the other walls already have a focal point, adding an accent wall next to it may create confusion and overwhelm.


                     Interior Essence accent walls:


Accent wall tutorials
Foil faux finish.


Tuesday, February 7, 2012

Recycle!

Just about everything I do around my house is 
done with scrap material! 

I did not spend a penny on this project! The pillows are  outdated 5 years from my living room and he headboard is an old door covered in leftover padding and fabric from a previous project. 

                   
                   The frames were once used for other decor


The ribbon is leftover from hair bows I made for my girls.
 

And the buttons are from a collection my 
great-grandma gave me! 


Before you buy something new look at the old. 

A few examples : 
               -Purchase "oops" paint 
                (returned paint that you can find at any paint store).  
               -Try painting or refinishing something to give it a new look. 
              - Re-purpose a item. That could be just moving an end table from 
                 your living room to the bedroom or this could mean turning 
                 a door into a headboard. 

Recycling can be fun! Give it a try!